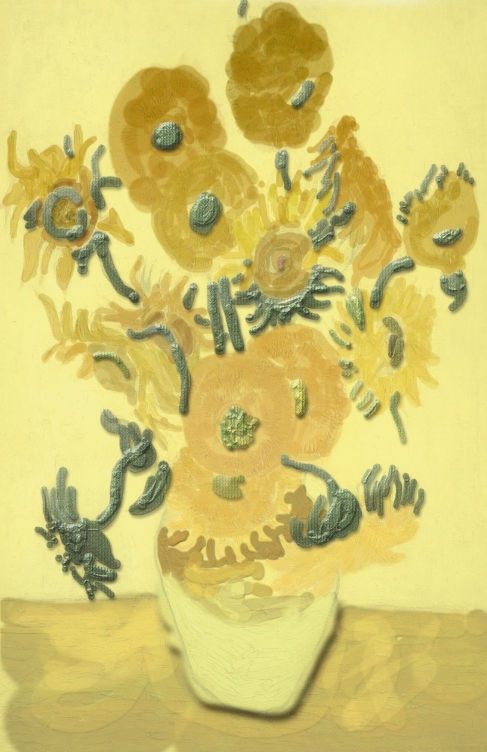
So i am continuing on with editing this painting to get it as close to the original as possible, so here we go.
here are the things that helped me with this continuation.
*Refining selections.
*additive color mixing is mixing colors with light
*subtracting color is mixing pigments
* image-adjustment-levels (command L)
*this brings up the histogram*
Mask, layer with transparency channel hold down the command key click on an image and anything that is white. (thumbnail) will get selected and what’s black won’t (select inverse when everything is selected and it will select the image.)
*Edit-content aware scale. (contact aware looks for pixels)
The pen tool
*note if you are new to this tool it is going to take alot of practice because at first it is a really tedious tool to use but once you have mastered it, it will be a blast
window-paths to see your paths on the selection.(it is also right next to the layers tab above the layers pallet)
*hit alt to bend the anchor point once you have made a path.
*command key and click on the point to influence the an already placed anchor point
(make sure the drop down menu says paths not shape, this will only appear when the pen tool is selected.)
*the size of the pencil will effect the size of the stroke.
Refining selection
*Changing the quality of the selection.
select-refine edge (command R)
smooth: smooths edges of the selection
Feather: Adjusting the transparency of the edges
contrast: hardens the edges
shift edge: grows or contracts the image
select-color range